Learn how to install Lightroom Presets in Adobe Lightroom in a few clicks. Note, now there are many versions and presets available in Lightroom. We have chosen Lightroom Classic CC because it is the latest version that is also the easiest one to install.
Besides, you can install presets on different devices: be it a PC, MAC, or Lightroom mobile App. Here we introduce to your key steps of how to install it on a PC and a MAC.
Read also: 120 Free & Premium Lightroom presets to Enhance Your Photography
FREE Warm Summer Haze Lightroom Preset For Mobile
How to Use Lightroom Mobile Presets
To use Lightroom presets on your phone, you’ll need to download the free Lightroom Mobile app for Apple or Android.
After that:
- Download the DNG file for any preset you’d like to use on your smartphone. First, tap each image and select “Add to Photos.”
- In Lightroom go to your photo library, tap the icon to add photos, and select “from files” or from the Photo Library.
- Add the file to your library (usually, it’s the Photo library on your iPhone). It should now appear as a photo with a DNG icon next to it.
- Open the photo, tap the icon of three dots in the top right corner, and select create preset.
- Give your preset a name. Name your preset as you like so that you can easily find it later.
- Now open the photo you’d like to post-process and tap the “Presets” tab in the bottom menu.
- Select “User Presets” from the bottom of the menu and tap the preset you’d like to apply.
How to Install Lightroom Presets on Desktop
Step 1
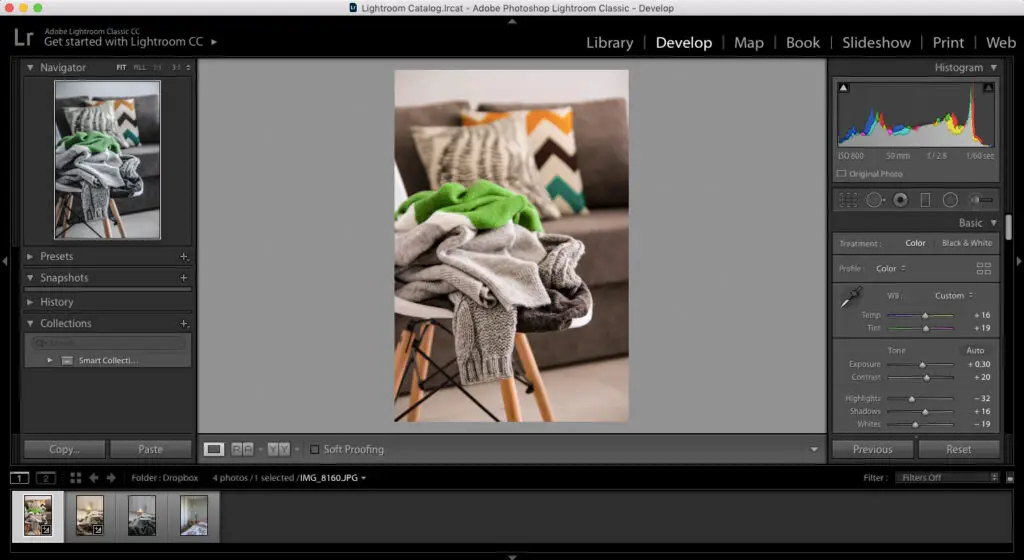
First of all, open Lightroom Classic CC on your PC or MAC.
Step 2
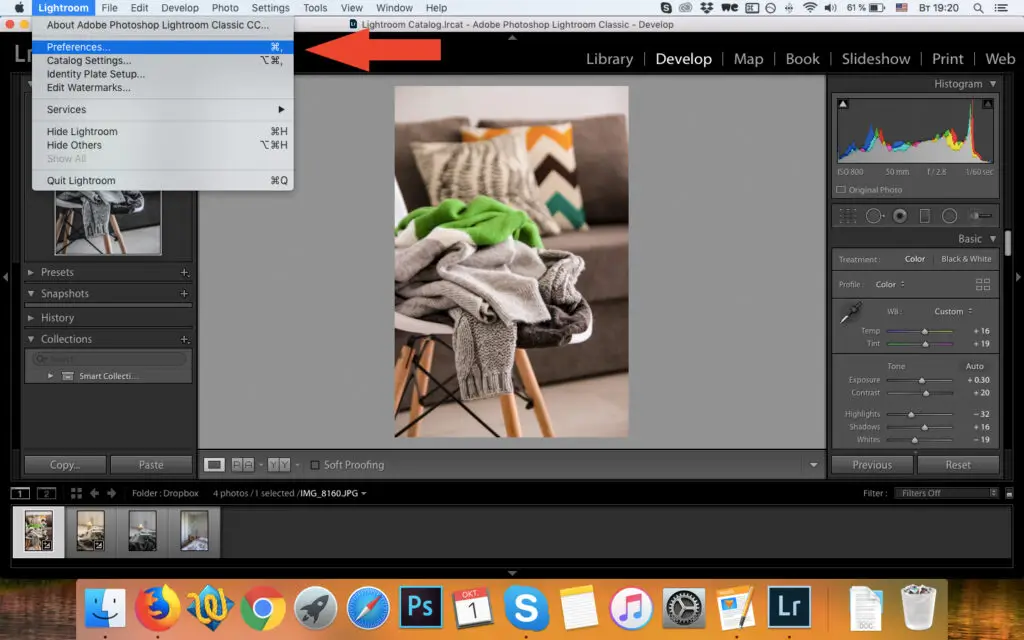
If you use a PC, click on Edit that is situated at the top and is next to File. Here you should choose Preferences. If you use Macbook, click on the ‘Lightroom’ that is situated on the left from File and then choose Preferences.
Step 3
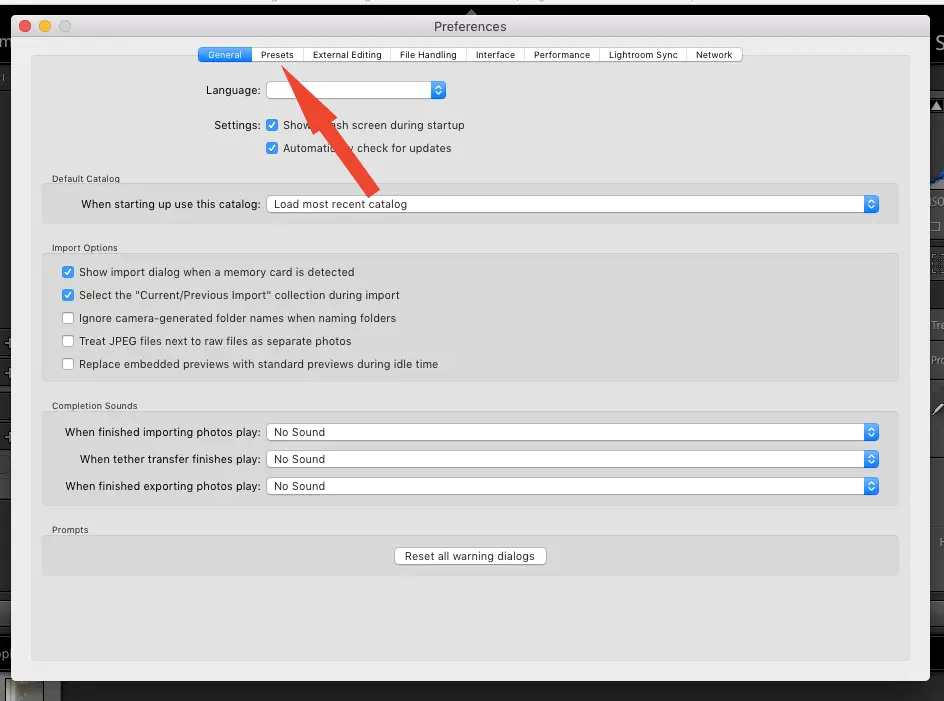
You will see a new large screen. Among all the tabs at the top, click on the second one that is called Presets.
Step 4
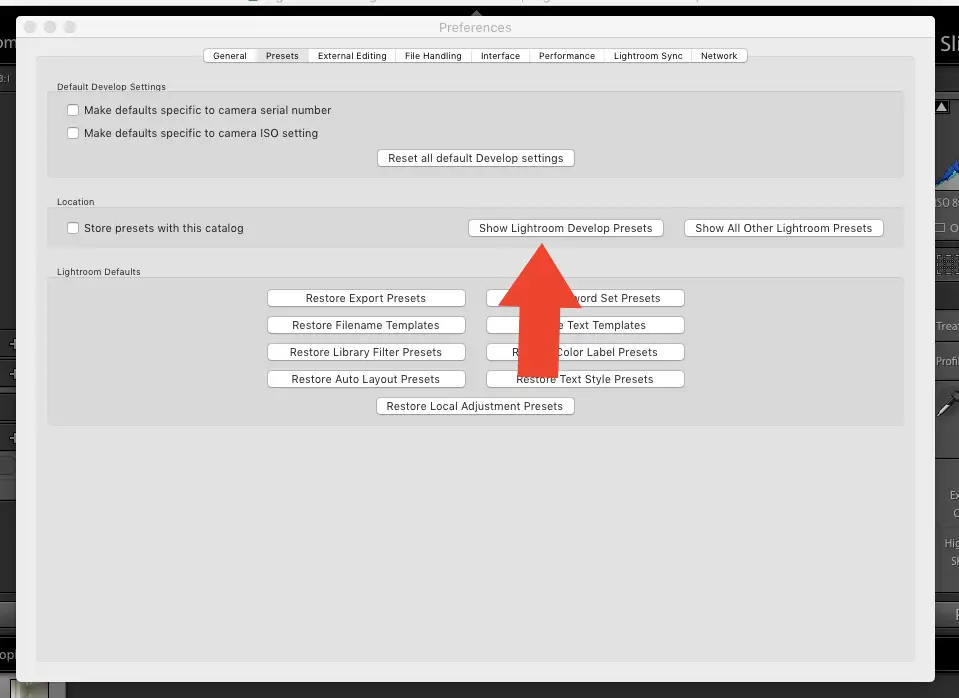
In the section Location, click on the box named Show Lightroom Develop Presets. Be attentive and do not check the box named Store presets with this catalog. If it is already checked, uncheck it.
Step 5
After clicking, you will open a new library folder that is called Settings.
Step 6
When you download the Lightroom preset from the web (or anywhere else), copy and paste the preferred folder from your Downloads that contains only the .xmp files.
Step 7
Restart Lightroom and the presets will appear in the Presets tab on the left.
***
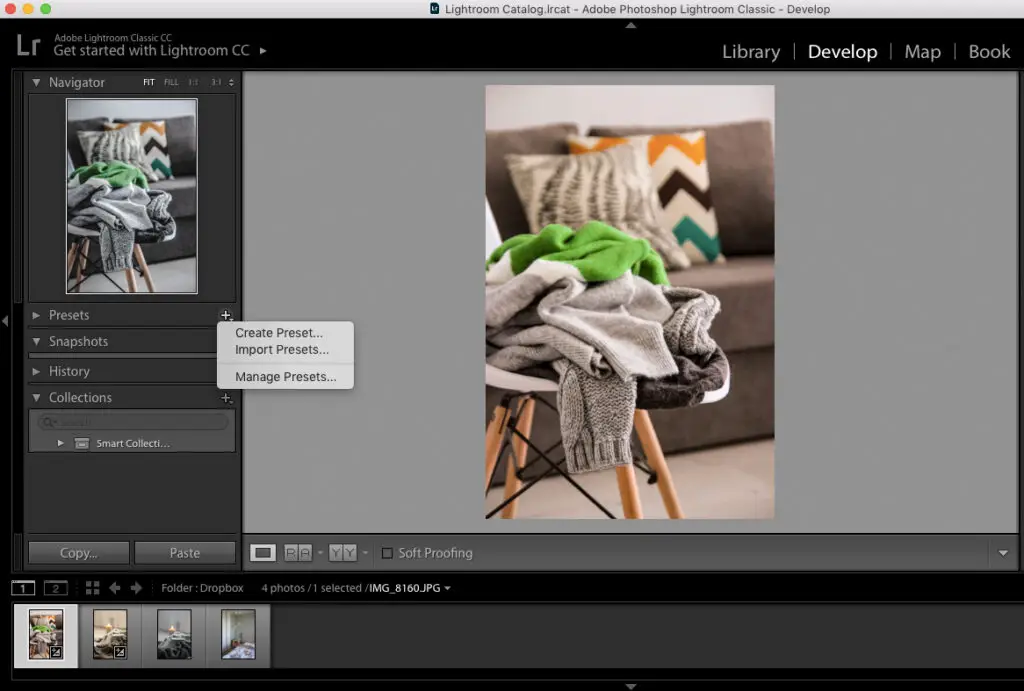
Also, there is another quick way to install presets in Lightroom: click on Plus and Import Presets on the presets tab on the left.
That is all! Easy, isn’t it? Now you have an opportunity to work and experiment with new Lightroom Presets.
Don’t hesitate to check out 100 amazing photo filters that you won’t find on Instagram!