Fog photography is one of the most fascinating and challenging genres of photography. Whether you own a photography startup or are a photography enthusiast, you should know all the tips and ideas you can implement in this genre.
For example, we know how important natural light is, especially in landscape photography. But how different is every rule and tip when applied to foggy conditions?
To help you out, we have done extensive research and picked out the best tips and ideas for professional fog photography.
In this guide, we cover every important aspect: from planning your photo shoot to choosing the right equipment and camera settings, nothing is left out.
Let us shed some light on the mysterious world of fog photography! Shall we?
Table of Contents
Mist Photography: 11 Effective Tips to Follow
1. Consider and Understand Weather Conditions
To excel in fog photography, you should first consider and understand how fog affects your photo shoot. First of all, unless you are a meteorologist, finding the perfect time to take fog photos is not easy.
And since most of us are not, it’s smart to download an app to monitor humidity and fog probability (aim for 90% and above). Clear Outside and MeteoEarth are two of the best apps to monitor fog.
After that, you just need to understand exactly how fog will change your shots and affect the entire process. We can safely say that fog will reduce the contrasts of your photos, but also the visibility in the viewfinder.
So, distortion and intense lighting conditions are more likely when you shoot in fog. Let us take a look at how you can avoid this.
2. Plan your Fog Photography
As with any photography genre, fog photography comes down to planning your shots. Do not just download a weather forecast app, pack everything up the night before and do some research on Google Maps to find the best location.
Then you can plan the time of day your photo shoot will take place.
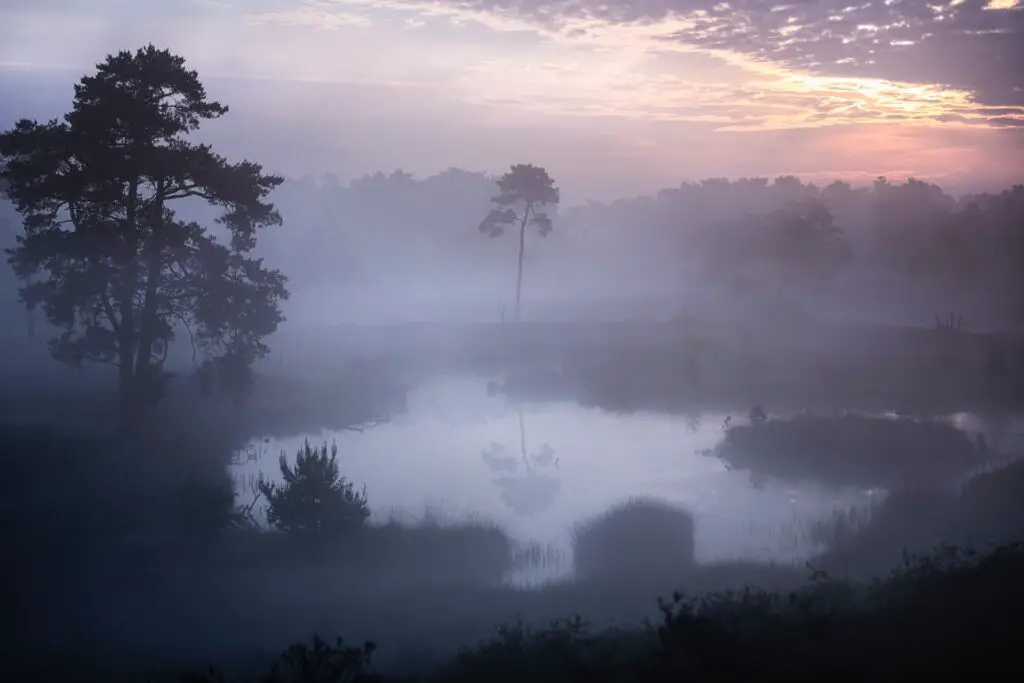
We consider sunrise (and the following hours) to be the best time for fog photos, as there is a greater chance of optimal fog and light conditions.
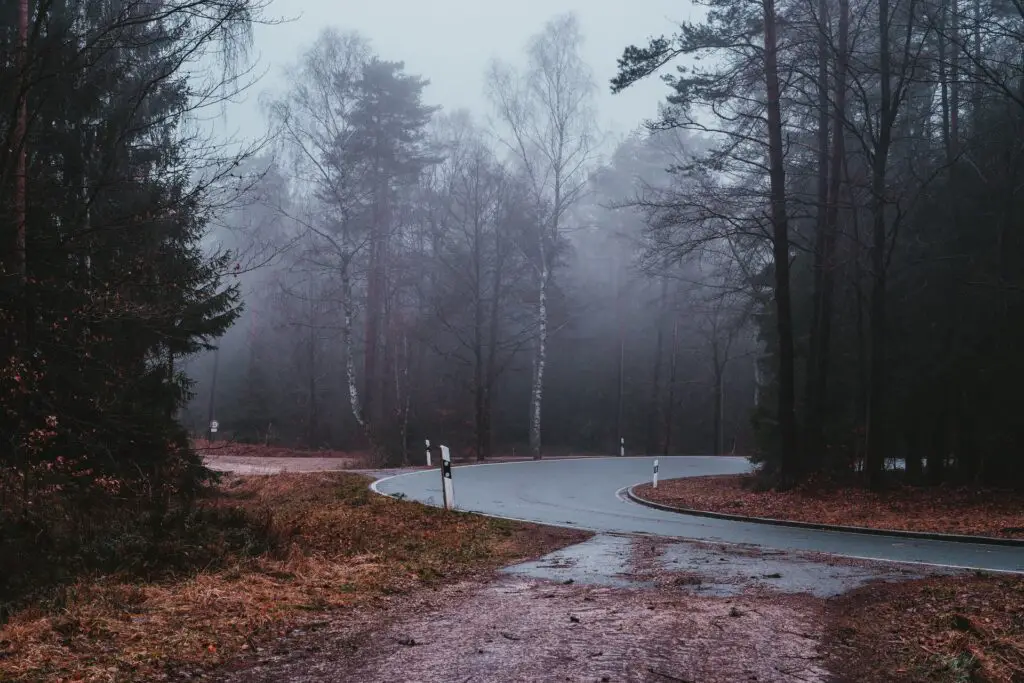
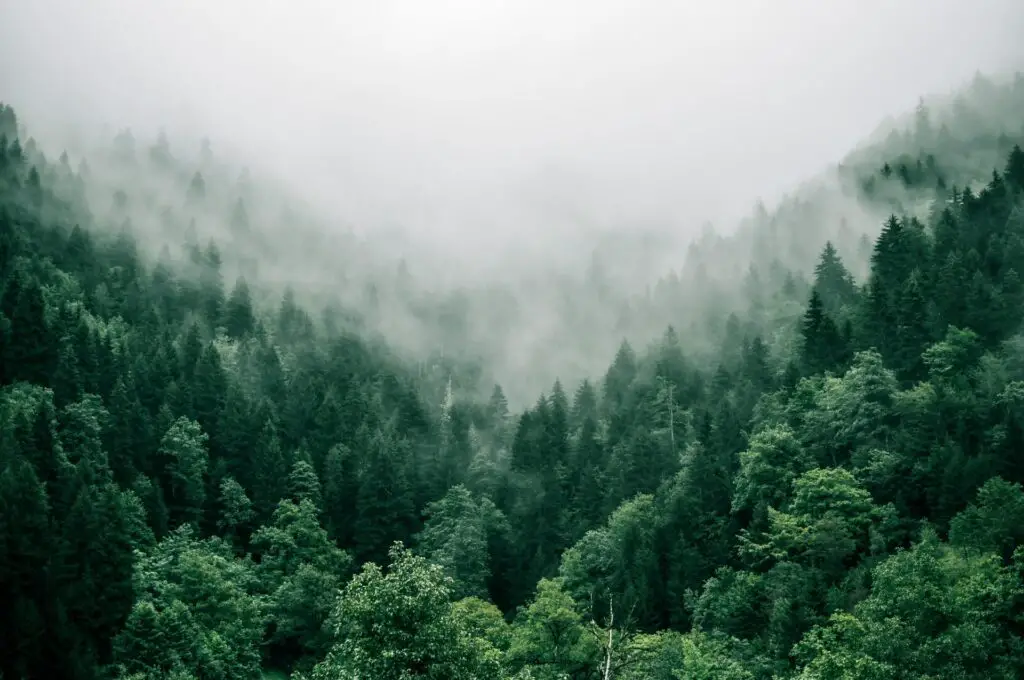
3. Choosing Proper Location
As mentioned earlier, the location you choose is extremely important in obtaining unique fog photos. If you want to dedicate yourself to fog landscape photography, your options are endless.
Take some time to find an interesting natural landmark nearby, such as a forest or a lake.
Once you have set the time and place and planned everything out, there’s only one thing left to do. Answering the question: how to take fog photos?
And more specifically, what equipment and fog photography settings should you use to achieve unique results?
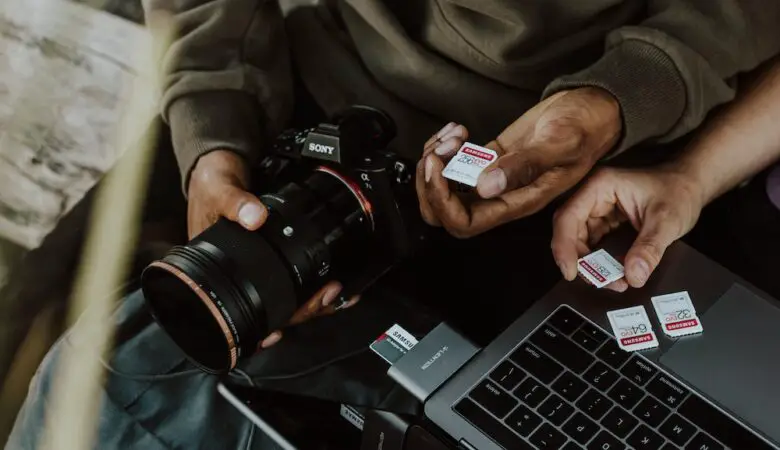
4. Equipment
In terms of equipment, fog photography is one of the most demanding genres. Remember that dense fog can affect your photos by distorting them.
Still, there are a few components you should always have with you when (and after) photographing fog:
- Mirrorless or DSLR camera that allows you to shoot using custom settings
- A wide-angle lens for dense fog and/or a telephoto lens for light (misty) fog
- A tripod with a remote trigger (useful for long exposures)
- Extra batteries
- A lens cloth (to clean the lens from moisture)
- A PC (desktop or laptop) for post-processing your fog photos
5. Fog Photography Settings
Even if you have the best equipment on the market, it’s useless if you do not use the right camera settings. To take amazing fog photos, we recommend the following settings:
| Aperture | Shutter Speed | ISO | Focus |
| Use a relatively small aperture (e.g f/5.6) when using a wide-angle lens (to reduce the depth of field in dense fog) | Keep an eye on your histogram to avoid highlight blowouts. Use a long exposure (and your tripod) for capturing the motion of the fog. | Keep your ISO as low as possible (100 or 200) to avoid noise. | Use manual focus (autofocus will rarely work because of the low contrast) |
6. Get Up Early
If you consider yourself an ‘early riser’, fog photography is definitely a good genre for you. As a rule, the best conditions for fog photography are in the early morning.
Of course, this is not always the case. That’s why you should always check a weather forecast app the night before to check the humidity levels prediction for the next day.
7. Use Tripod
We know that not all photographers like to shoot with a tripod and a remote trigger. For many, this process is kind of boring. However, light conditions are quite difficult in fog photography.
That’s why taking photos via your camera’s live view is a very smart thing to do. All you need to do is to set up your tripod, mount your camera on it and use the Live View function to take photos.
This way you can minimize blur and camera shake when shooting with long exposure.
8. Consider Long Exposure
If you want a natural representation of the fog, you should use a fast shutter speed. However, long exposure fog photography allows you to take some amazing photos as well.
If you use a shutter speed of 0.5 or 1 second, you will get a smooth texture of the fog and a nice motion effect. So you can opt for a long exposure time, especially if you want to take dreamy fog photos.
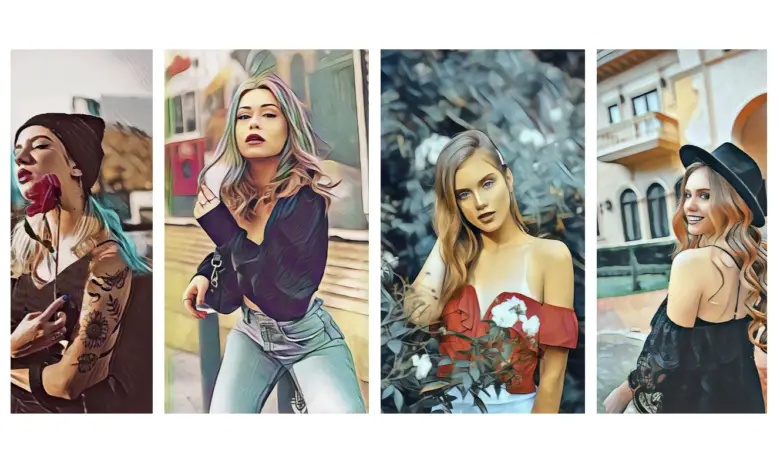
9. Post-processing for Fog Photos
Post-processing is crucial in all areas of photography. Likewise, fog photos are usually a bit washed out when you see them on a computer screen. This is understandable because of the low contrast (and low saturation).
Fortunately, apps like Photoshop and Lightroom or online platforms like Canva can help you manipulate the lighting in your photos. The Dehaze feature in Photoshop and Lightroom is a smart solution to this problem.
You can also experiment with exposure and sharpening sliders and use a radial filter.
10. Creating Depth
Another smart thing you can do to spice up your fog photos is to add some depth. This way, you can improve your composition and avoid flat-looking mist images.
To do this, you just need to move closer to the main subject of your photo and take advantage of the distance to several subjects.
For example, you can create depth by moving closer to a silhouette while including other subjects, such as trees, in the background.
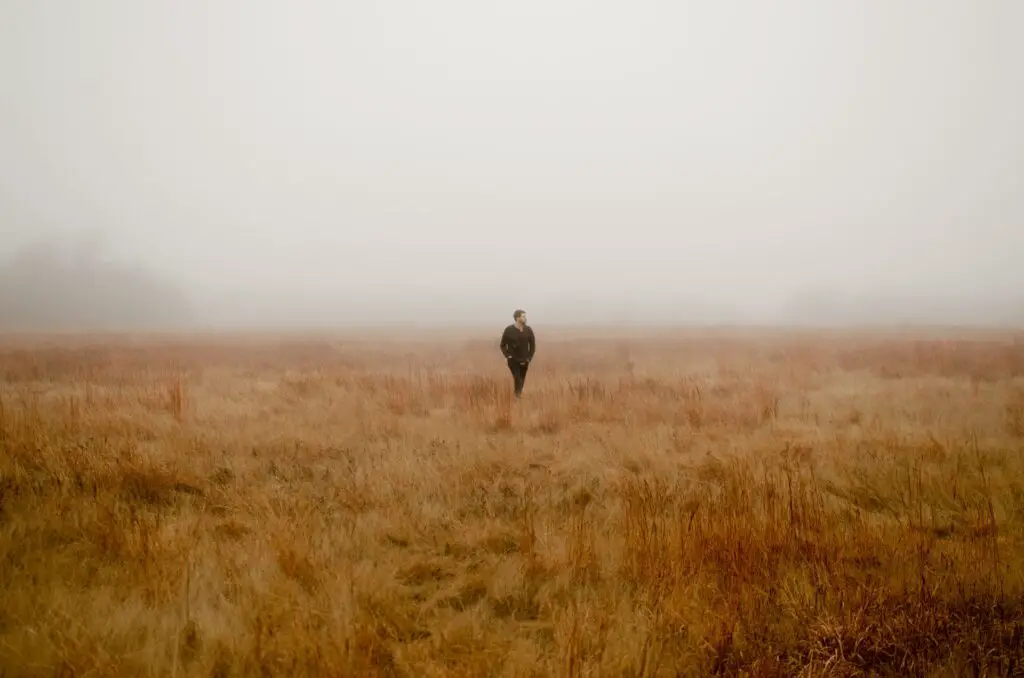
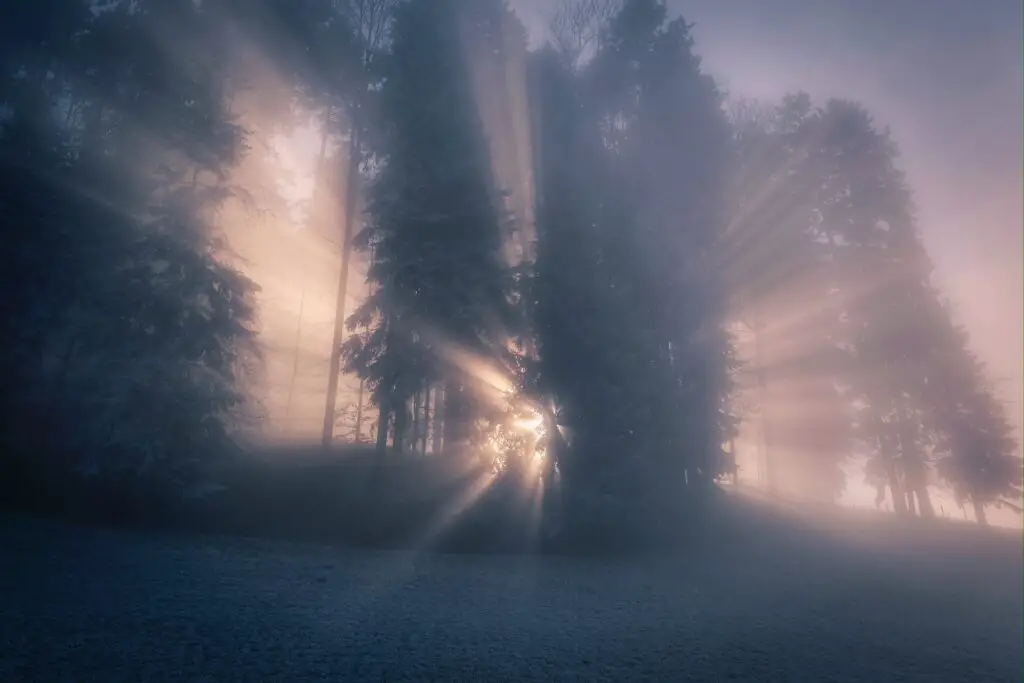
11. Experiment with Shadows and Silhouettes
Fog photography gives you the opportunity to experiment with shadows and silhouettes.
Try to find the best way to position yourself (or another subject) in the fog and face the light. This way you can capture a shadow/silhouette that is naturally obscured by the fog.
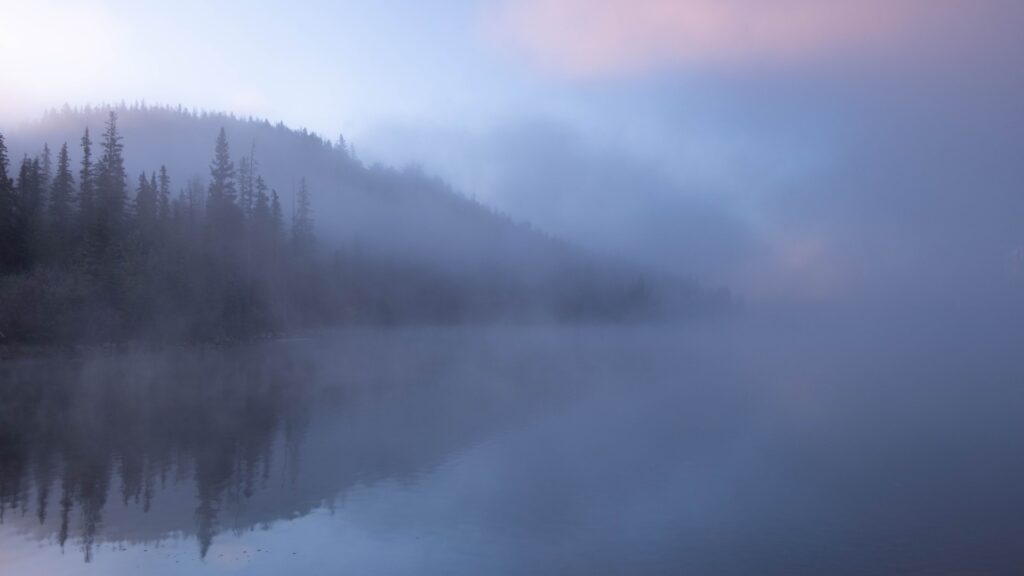
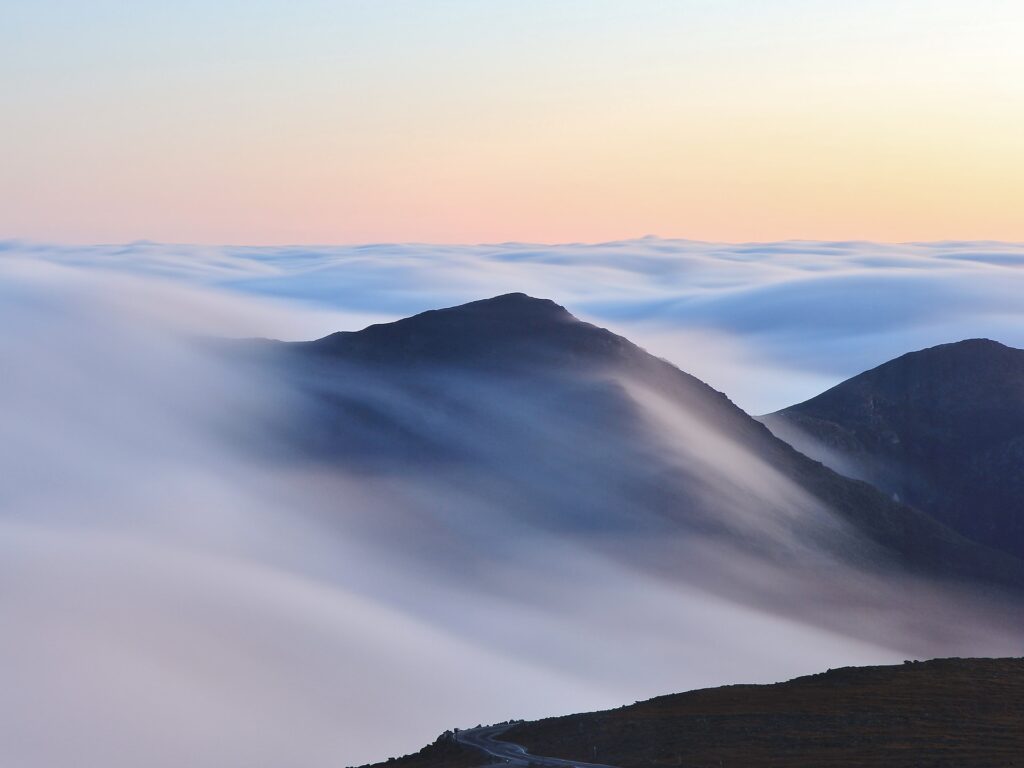
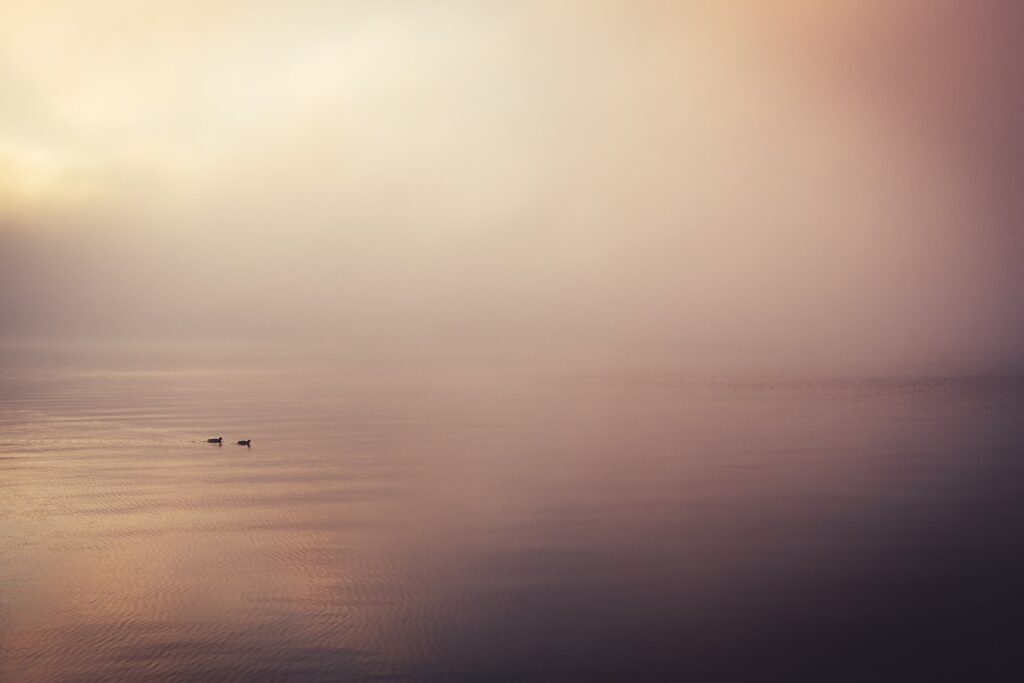
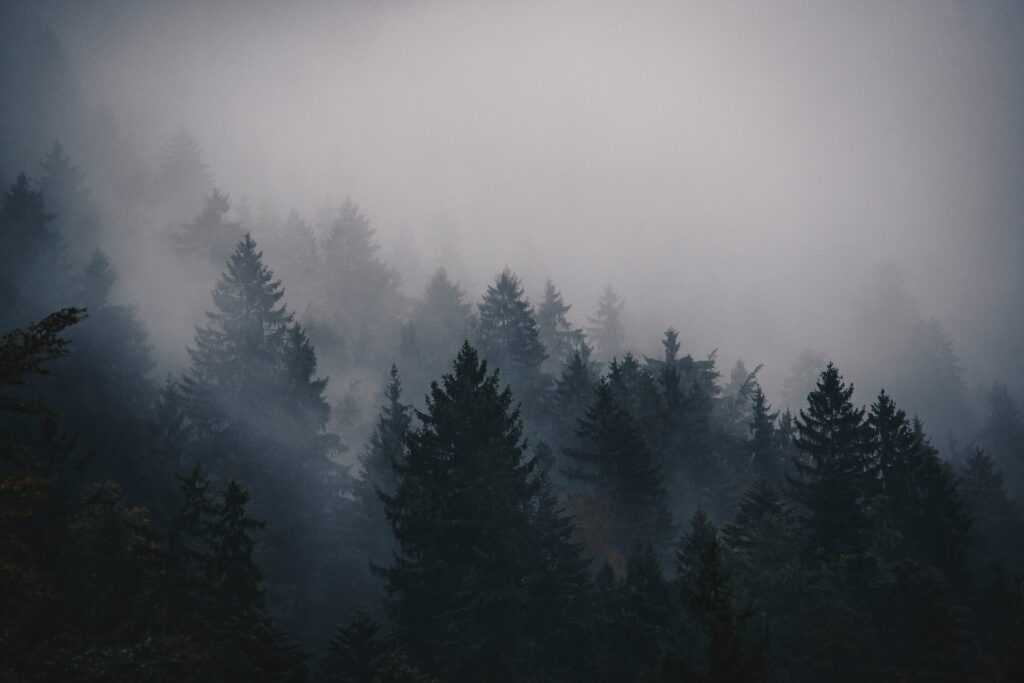
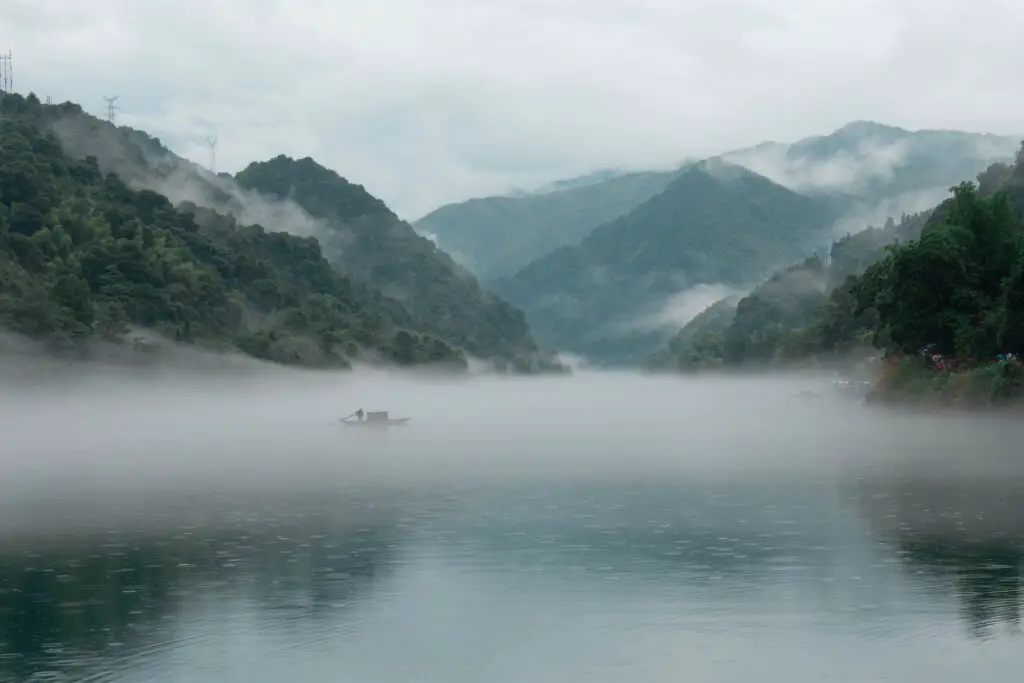
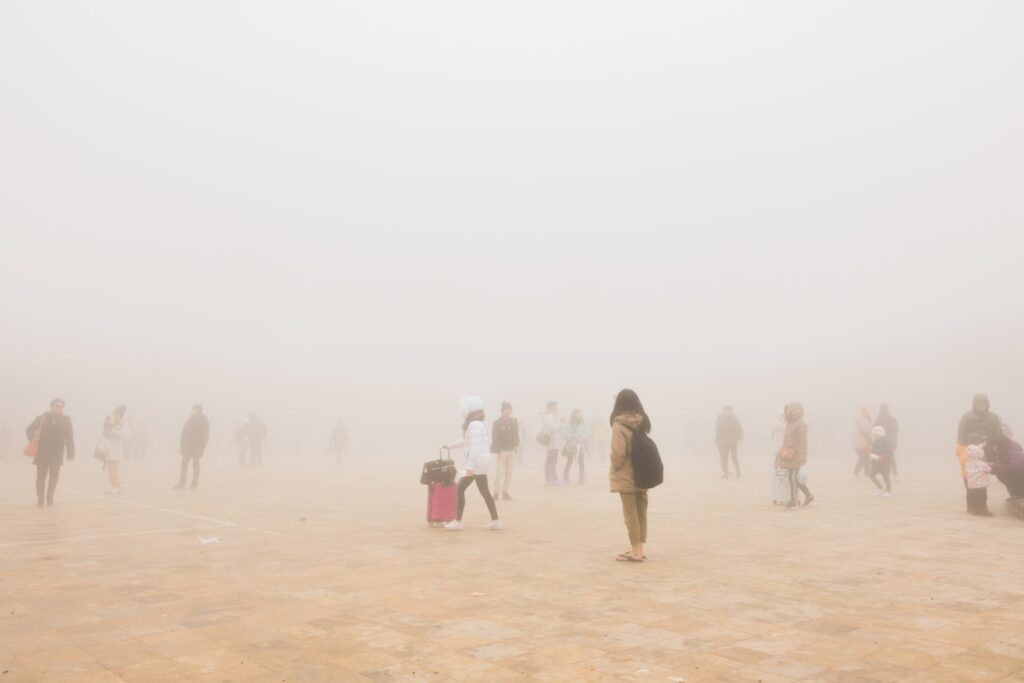
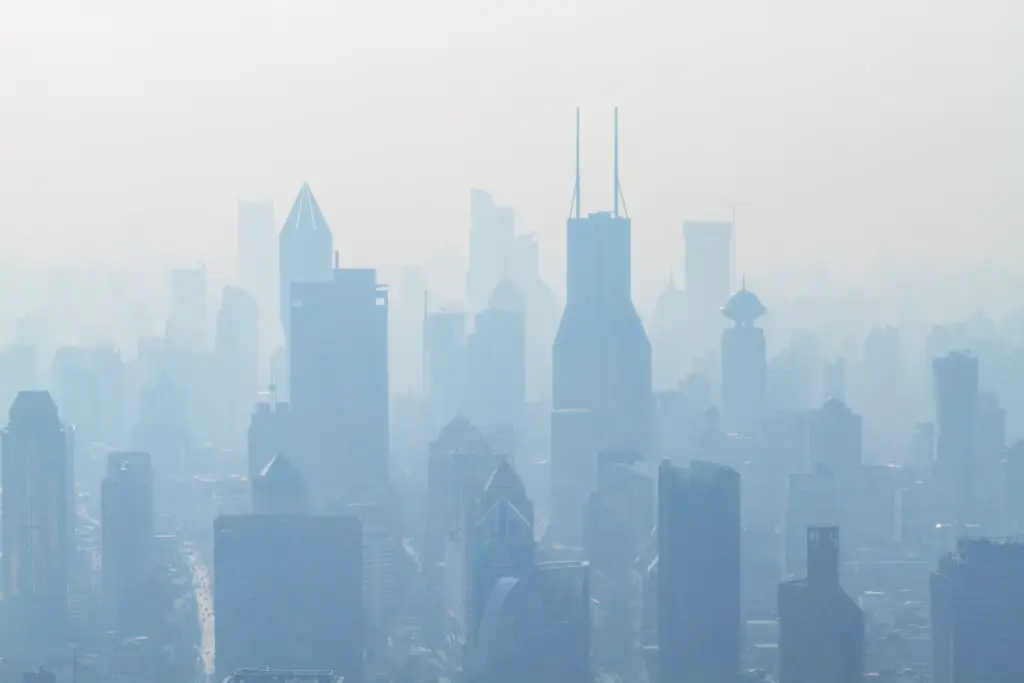
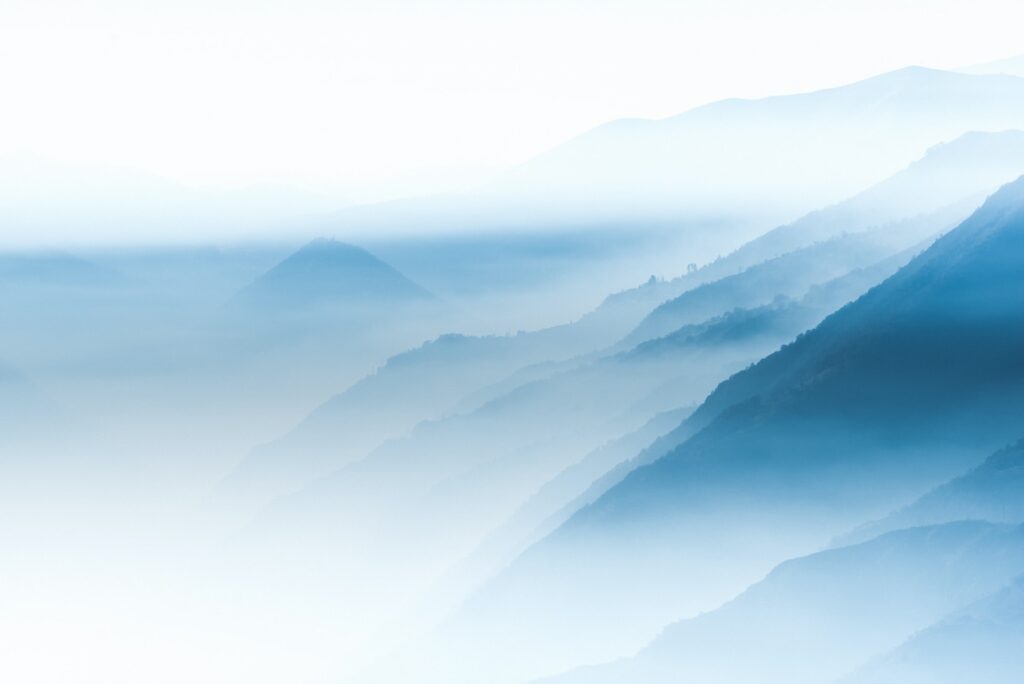
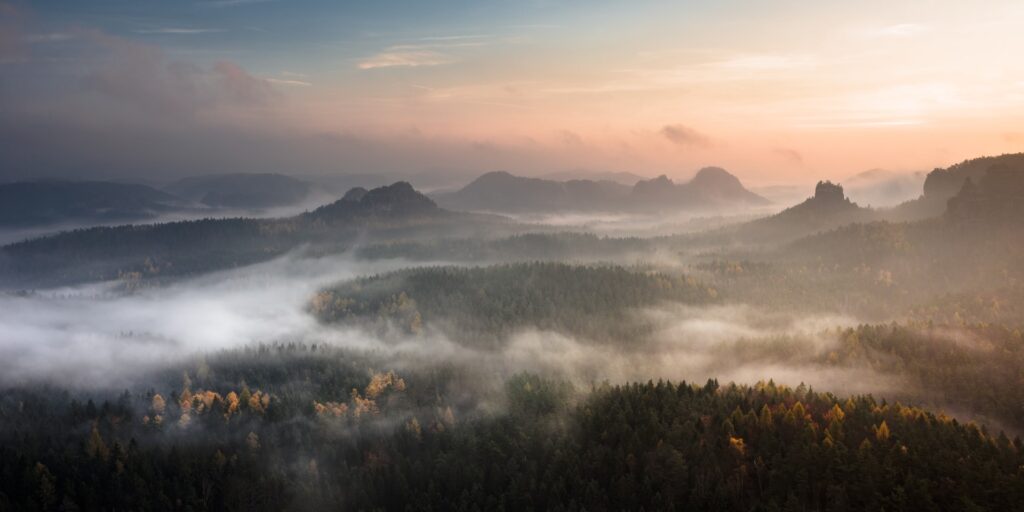
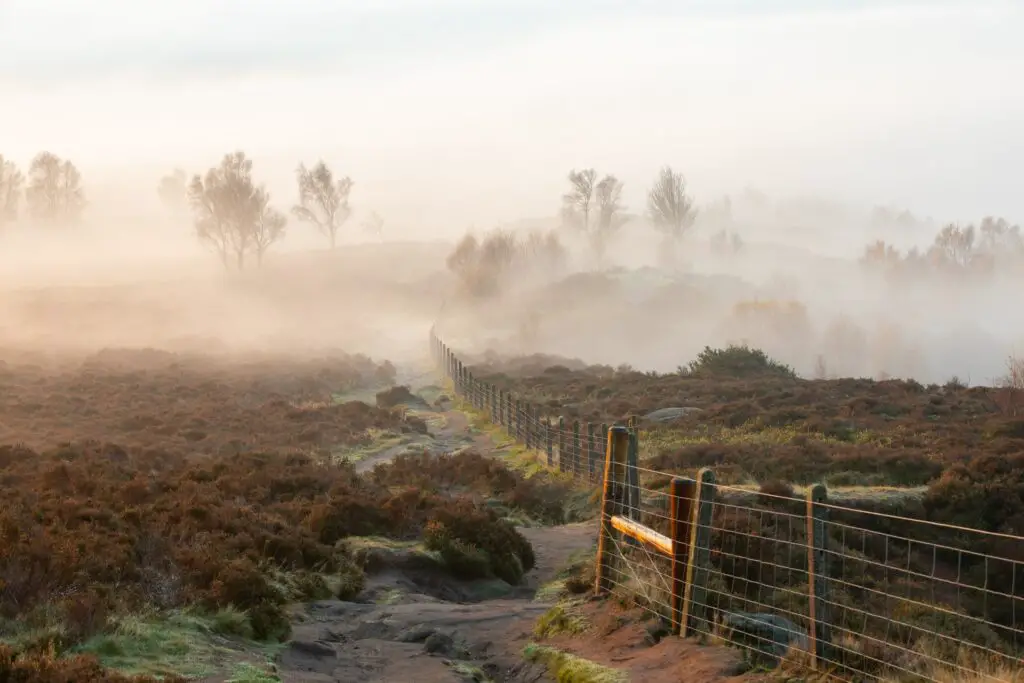
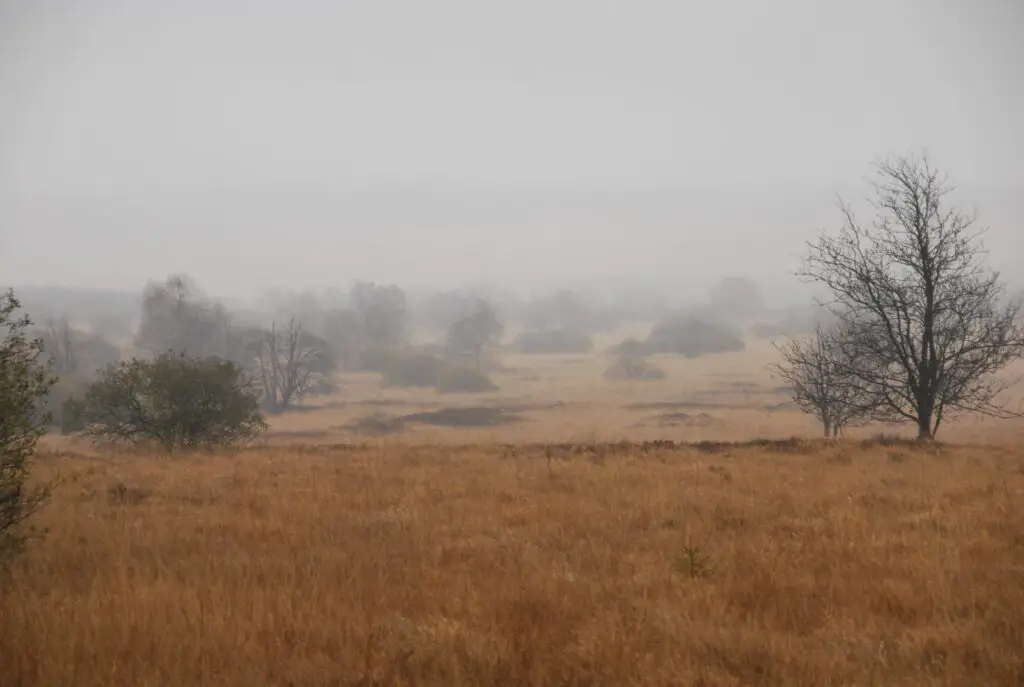
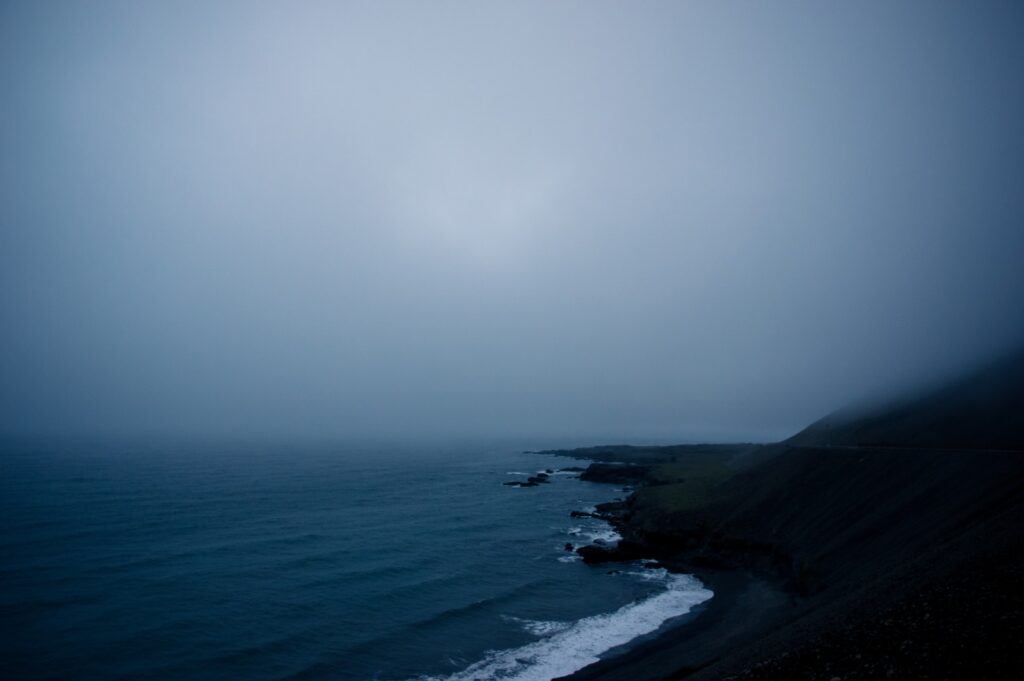
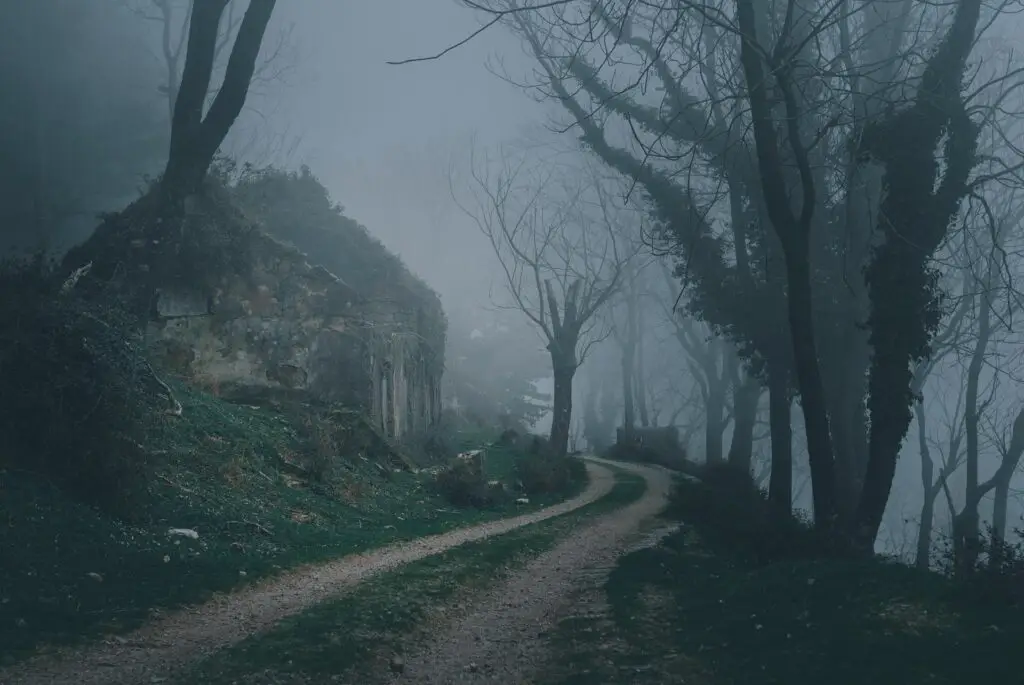
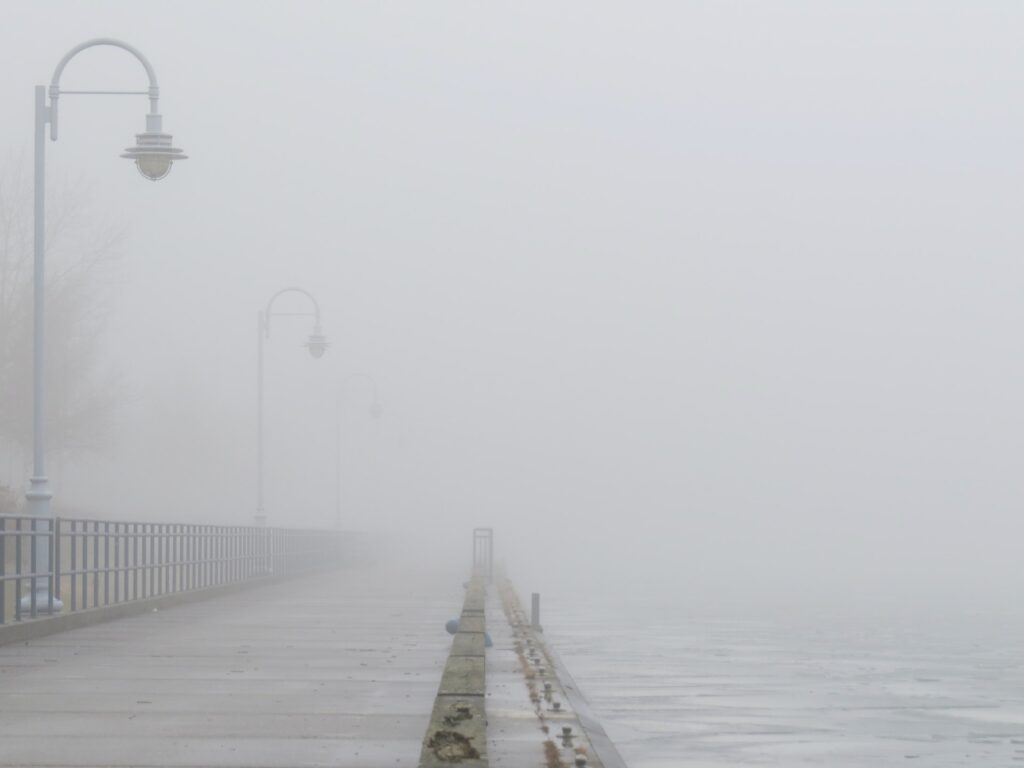
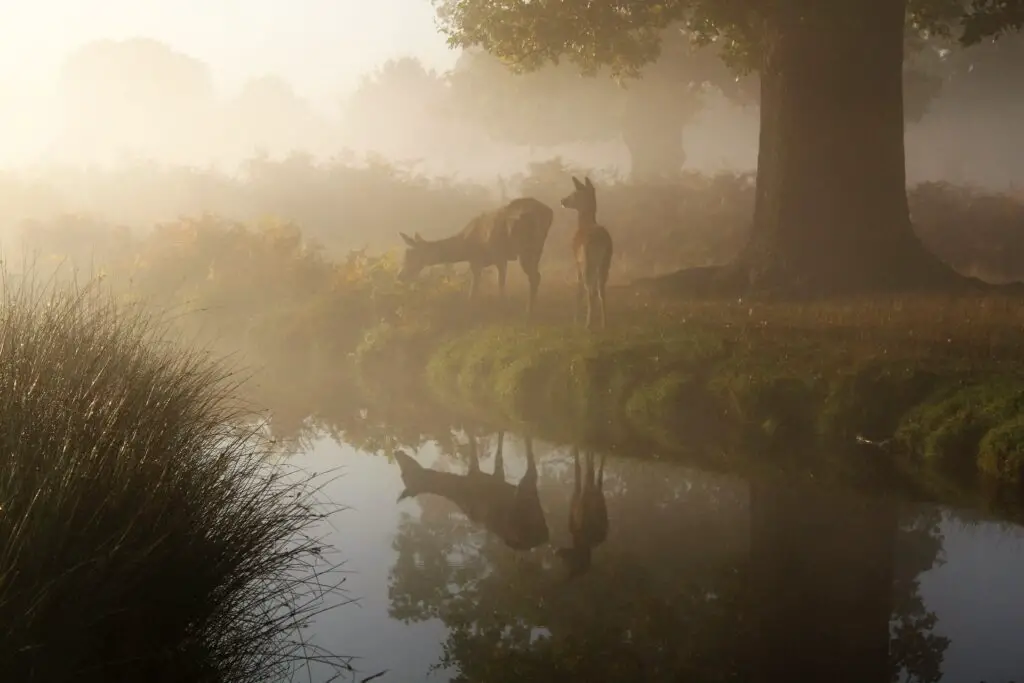
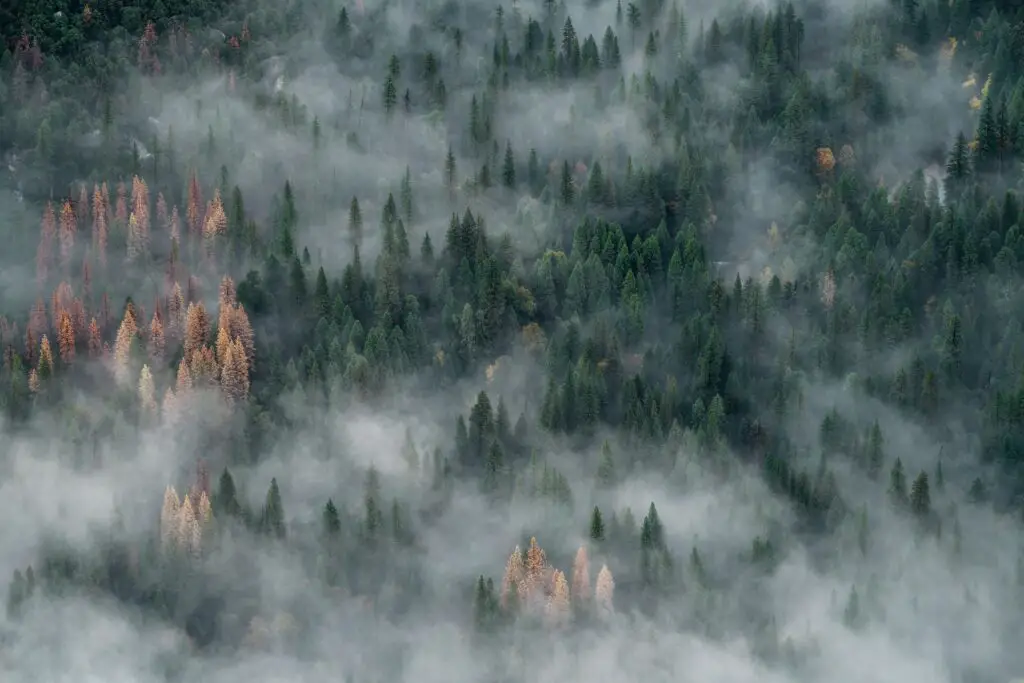
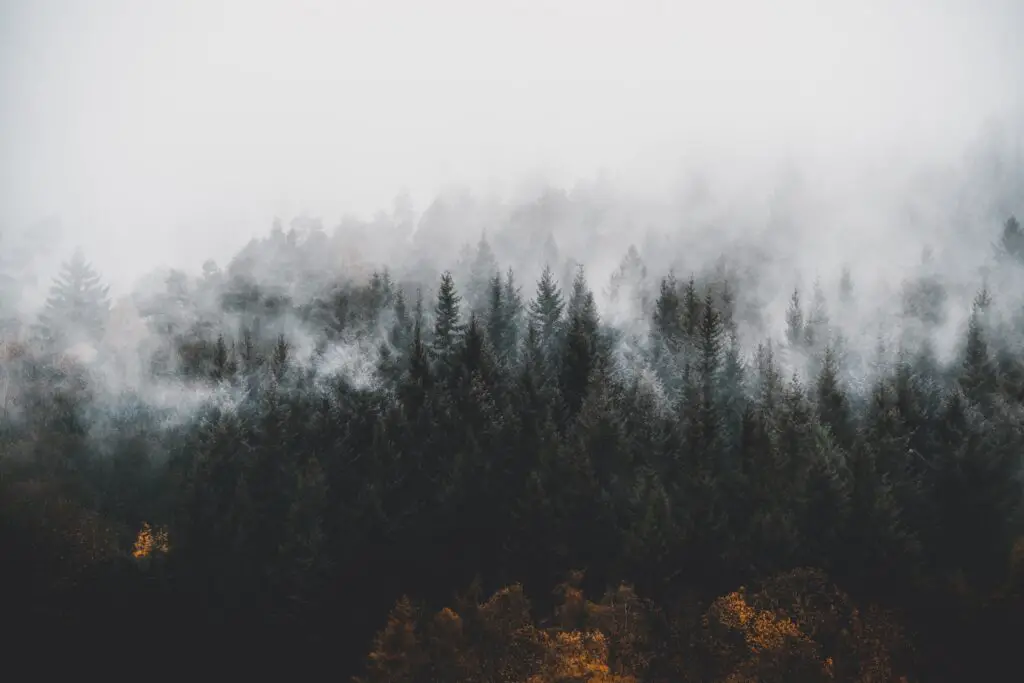
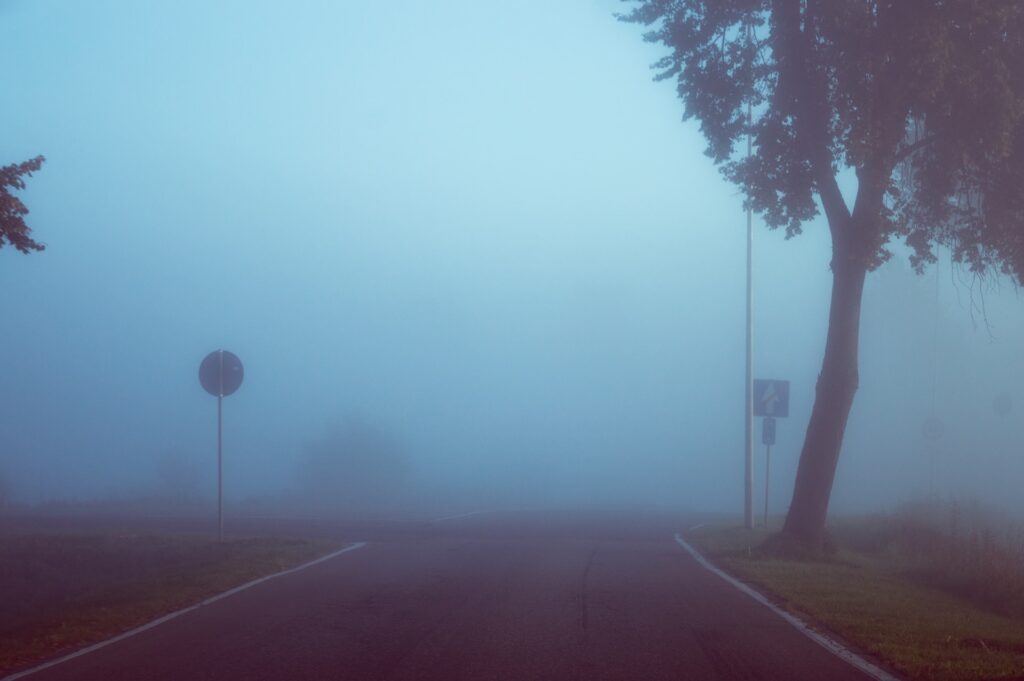
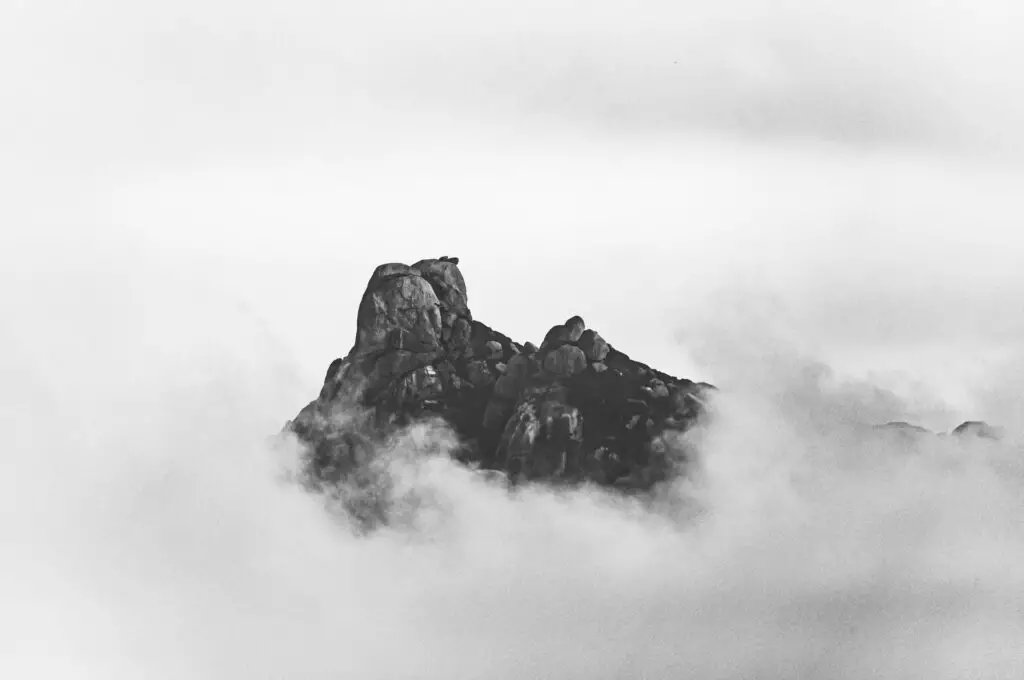
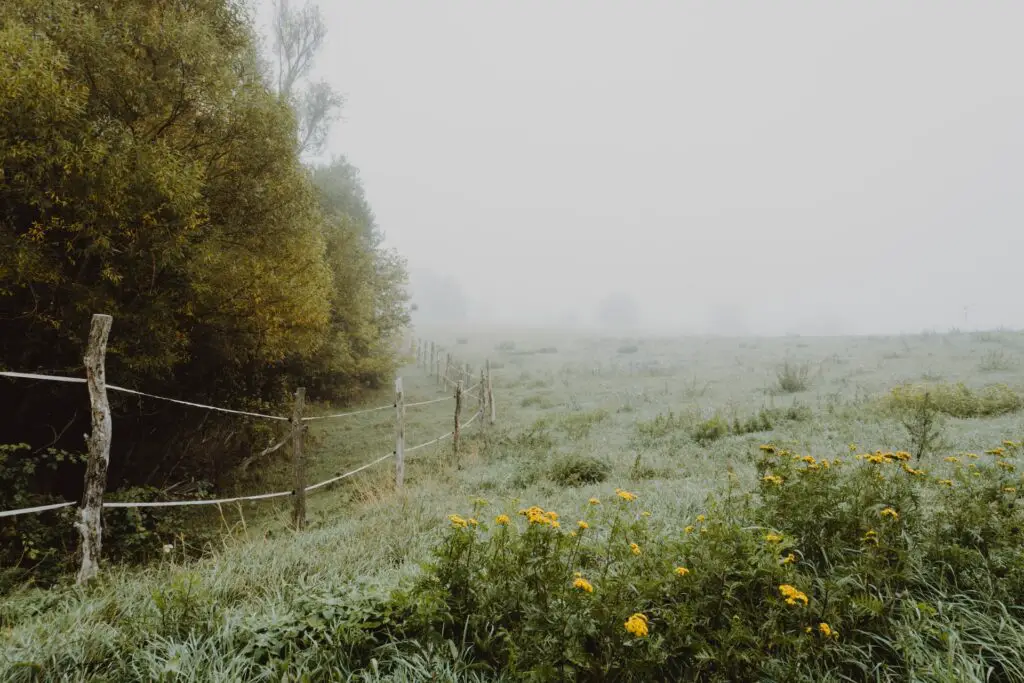
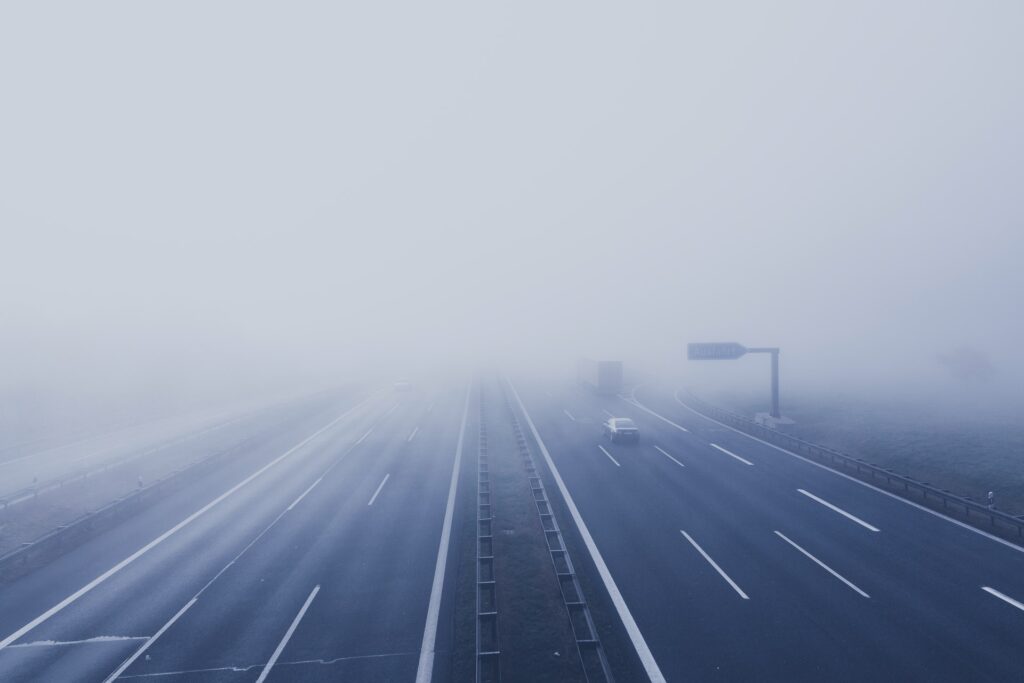
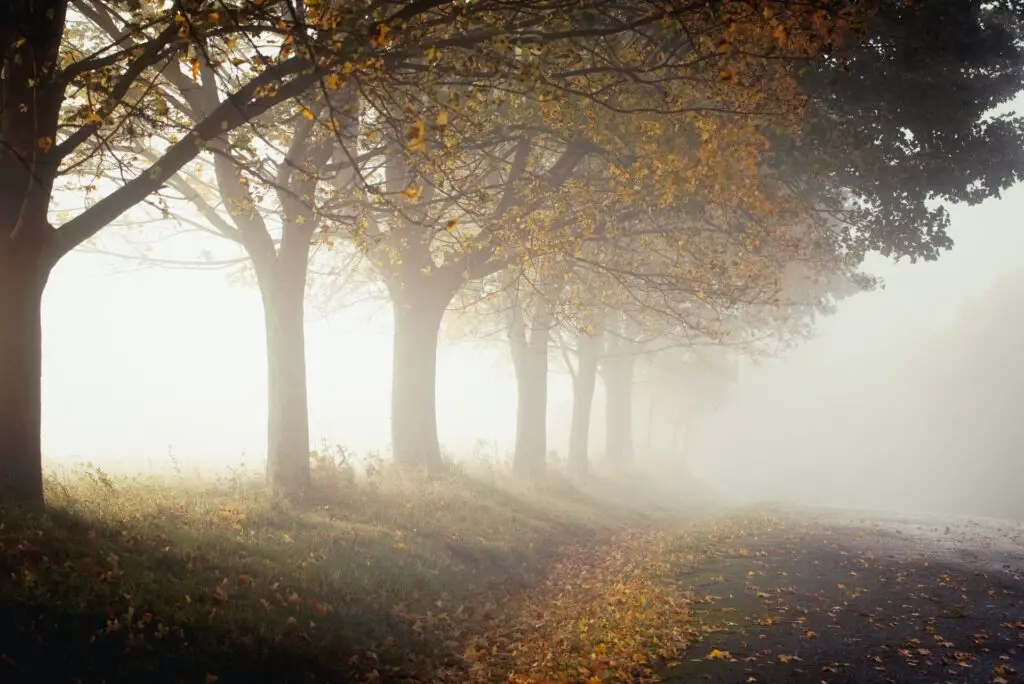
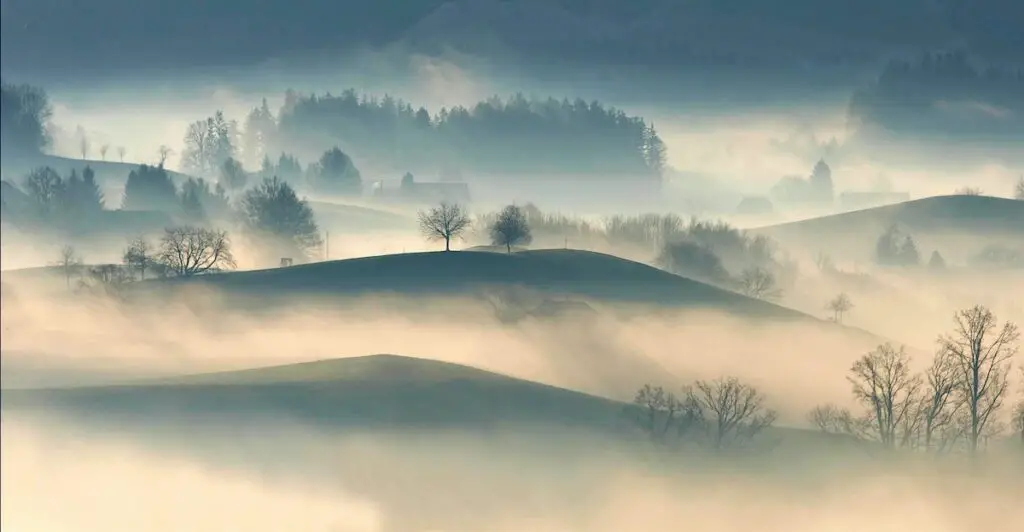
18 Fog Photography Ideas for Inspiration
Below we collected 18 fog photography ideas that you can use for inspiration. Fog and nature photography are inseparable parts of a single whole.

Conclusion
By following the above tips, you can easily improve your fog photography skills and capture an unforgettable landscape or silhouette portraits.
Then, you can easily integrate your amazing fog photos into a unique Pinterest or Instagram template and share your work on social media. Are you ready to amaze the world with your top-notch photos?