As a landscape photographer, you can’t escape to the safety of a studio. Great natural light is what a landscape photographer wants to witness. This is the reason to wake up early, hike, and sit in the dark waiting for the sun to rise.
Since you are limited to using natural light, you need to learn how to make the most of it.
This article will tell you how to understand and use natural light in landscape photography.
Types of light in landscape photography
The same place could look stunning and completely dull, depending on the lighting conditions. Good light can make or break a landscape photo. You need to understand what type of lighting is best for the type of picture you want to take. Let’s discuss what directions of light exist.
You need to understand what type of lighting is best for the type of picture you want to take. Let’s discuss what directions of light exist.
Side lighting is when the sun is on the left or right beside you. This light can help you emphasize textures and shapes.

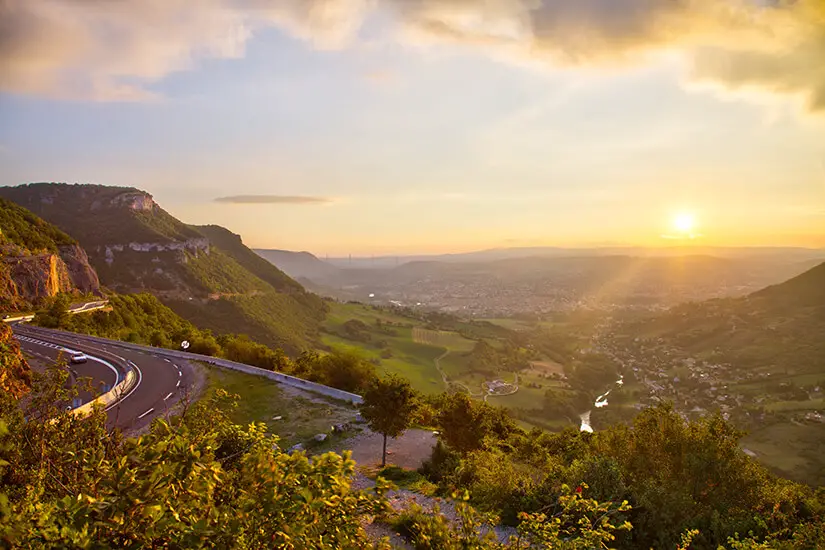
Sunset and sunrise give you almost the same effect: warm yellow light that gives you a chance to produce a beautiful image in most cases.

Backlighting is when the sun is behind your subject and directly in front of you. It gives a deep contrast and emphasizes shadows and highlights.
Front lighting hits the front of your subject showing every detail. But be careful with front light – it could minimize shadows and textures. To make the most of front lighting use it at sunset or sunrise.
Most articles on the web will help you stay away from top lighting. However, the harsh midday sun is the perfect time to photograph shadows. It’s the best type of light to shoot beaches and blue water; it reveals the azure color of the water.
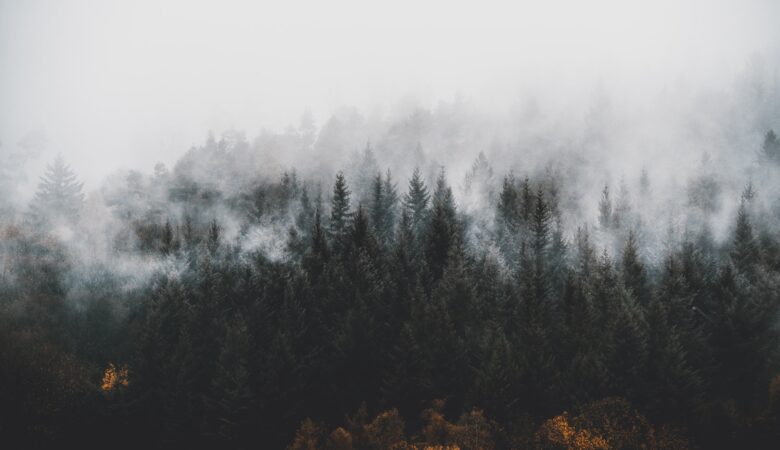
Overcast lighting is available on a cloudy day. The clouds act as a giant softbox that diffuses the light. This type of lighting will be a perfect solution to capture waterfalls and forests.
Magic hours for a photographer
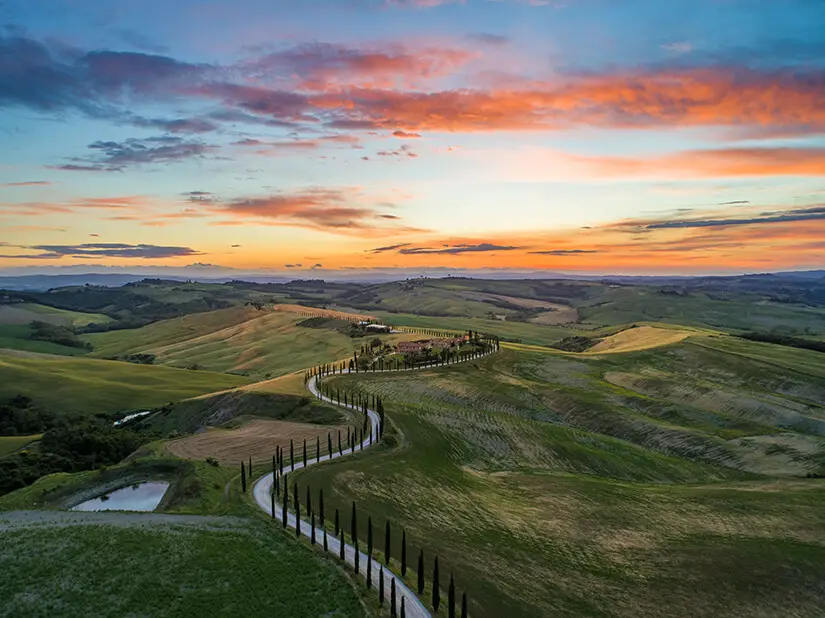
The best time to capture landscape photography is at the golden hour and blue hour. You may think they last for an hour as the name suggests. But it’s not entirely true. The length of the golden and blue hours changes during the year and also depends on your location.
Golden hour is when the sun passes right above the horizon. It happens twice a day at sunrise and sunset. It makes magenta and yellow colors vibrant and visible.
Front light will increase glow on mountains and buildings; sidelight emphasizes shapes of objects, while backlight will help you create dramatic silhouettes.
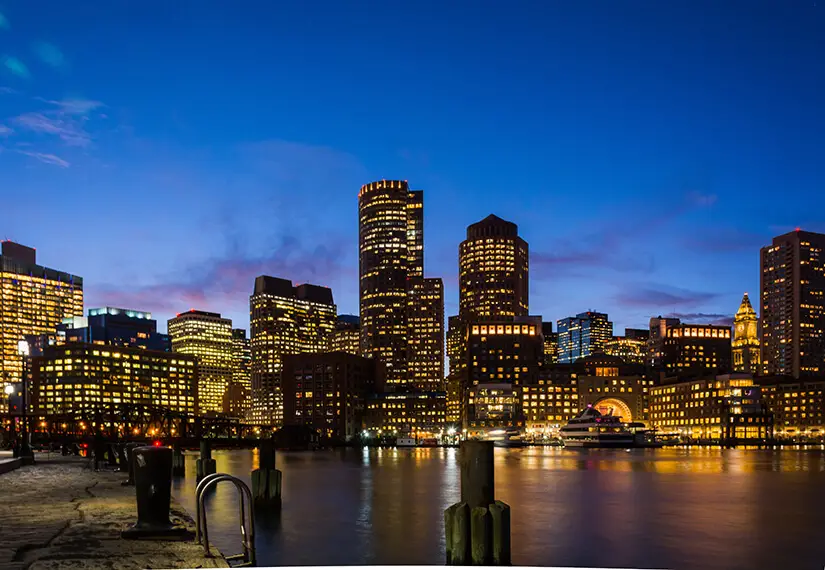
Blue hour is when the sun is below the horizon right after sunset or before sunrise. You see cool blue light. Depending on the lighting conditions you can consider using longer shutter speed. Or capture the landscape at the blue hour along with city lights to get a nice contrast of blue and yellow.
Conclusion
The best way to understand how different types of light work is to capture the same subject at different times of the day. It could be a location that is not far from your home so that you can go there anytime.
Take a picture of the subject on a cloudy day, at sunrise, sunset, golden hour, blue hour, and even in the bright midday sun. It will help you see how light changes the textures and then take images that impress at any time of the day.